I created this web page, not as much for you as for me. I wanted a place to store all my ham radio information, links, etc. This page is the result of my selfish effort. But, isn’t that the essence of the web – to share information?

Feel free to explore, comment and link to this blog. Or, better yet, contribute something!

Sunday, May 28, 2017

$50 100 Amp 12 VDC Power Supply

Wait, a 100 amp, 12 VDC power supply and it is only $50, complete with metering? What's the catch? No catch, just a little homebrewing and you are ready to go. There are scads of server rack power supplies in the market for $30 each, delivered. A couple of simple hacks, a ready made digital meter, and you have a top notch DC supply to power your transceiver and other gear.

To start with, you need to get a server power supply. Go to eBay and search for "server power supply." You will find dozens for $50 or less. I bought mine for $29.99, free shipping. It is an HP Proliant DL580, 1200 w power supply. At 110/120 VAC, 9.9A, it will deliver 12VDC @ 75 amps all day. Hit it with 220v and you can get 100 amps, 1200w out of it. It has a standard office equipment plug, over there next to the red lever.

It is small, about 10" x 3.5' X 1.5" and weighs a couple of pounds. It is a switching power supply, which accounts for the small size.

I KNOW, I KNOW! Switching power supplies are notorious for having RF noise. This one was made for use in a crowded environment with lots of low level signals floating around, so it was engineered to be clean. And, it is. I heard nothing from 160 through 6 meters. My Ryobi drill charger is noisy as Hell, but this is not.

On the business end, it has an edge connector with 5 normal connectors on each side, and 2 - 1" connectors. These 1" connectors are what is used to pull out the 12 V DC. Edge connectors are nice, in that you can solder to them easily.

In order to turn the power supply on, you have to put a 1k resistor (1/4 w will work) between pins 33 and 36. You can also wire an external switch here as long as you series the resistor with the switch. I soldered Anderson Powerpoles directly on the edge connector to match the rest of my station. The positive is on the outside of the edge connector, the negative is in the middle.

You can see how I arranged this in the illustration.

There is a company called Gigampz that sells an adapter that plugs into the edge connector on the power supply and supplies the switching interface as well as power connectors for the DC. It costs $37, so I didn't order one, but it would make a neater installation.

Next, I needed a way to monitor the voltage and current. I found a Hall effect current meter on Amazon for $18. It is a very cool little device, displaying both amperage and voltage. Because it uses Hall effect technology, you do not have to have an expensive shunt. The system includes a current loop that goes around the positive DC lead. The display can be configured to show DC voltage, current or both, by cycling between voltage and amperage. Again, I used power poles and integrated this into a cable. You connect the + and - of the meter to the DC power out and you are ready to go.


Here is the display showing first voltage, then current.


You can integrate this into your station somewhere, or build it into a box or just put it on a steel shelf as I do. The power supply is designed for 24/7 operation, and should be able to handle any amateur radio station requirements.

The power supply was $30, the meter $18, so the whole thing, less connectors and wire, cost me less than $50. I am very happy with it and hope you will be too, if you give it a try.

Monday, April 25, 2016

Bags To Go

If you are involved in emergency communications in any way, you will need a go bag or 2. Or 3. Having them packed and ready to go can save you a lot of time when the time to roll comes. Everybody has their own strategy, but let me share with you my philosophy. I have 3 bags packed. My primary bag is a 3-day assault backpack. This is in connection with my service in the South Carolina State Guard. We are required to have a pack ready to go.

Go Bag #1 - 3 Day Go Pack


The pack should contain everything you need for 72 hours of activity.  Sometime in 3 days, you should be able to get replacement supplies. In this pack, you should include all the things you will need for 3 days, including toiletries, dry clothes, food and medicines. You may have to get an extra prescription from your doctor. I recommend you carry a week's supply of meds, just in case.

Here is a link to the detailed 3 day pack I compiled. Note that this includes things like uniforms, which you may not need, but you can use it as a guide. For example, where it says "Extra Uniform," just substitute "Extra shirt and pants."

You will find that a vacuum sealer is a really good thing to have. Clothes shrink dramatically when vacuum sealed. Also, I don't particularly like MREs (Meals Ready to Eat) that are supplied by the military, so I make up my own using a vacuum sealer. I put stuff like the bags of tuna, crackers, fruit and power bars, and other foodstuffs in a bag, vacuum it up and seal it. You should have 5-6 of these in your 3 Day Pack.  3 days worth. If you can handle MREs, by all means, use them, but remember to field strip them to save space and weight.

Go Bag #2 - Basic Communications Bag

If you are going to be doing emergency communications, you will also need a basic commo bag with the equipment and supplies you will need, again, for a 3 day assignment. The requirements for this will vary, depending on the assignments you may expect. This bag will not be a backpack style, since you may already have one of those, and you probably only have one back. Get a size that is the minimum for what you need. If you get a big bag, like a duffle bag, you may find that you will soon fill it.


Go Bag #3 - Advanced Communications Bag

This bag focuses on advanced communications tasks. If you are aware of Comm-T, this would be the bag that would support that function. It would also include a PC and software for programming radios in the field. Which radios? Well, that depends on the missions you expect. It is obviously impractical to have the software and cables for every possible radio, but you should have cables for the radios you support and the most likely ones you may encounter. 
This bag also has tools that will allow repair of cables, putting connectors on cables and other hardware tasks. I also suggest you bring a wide variety of adaptors, you never know what you may encounter in the field.

Why 3 Bags? Why not combine them?

For me, it makes sense to have 3 different bags, because I am never sure what function I may be called upon to perform. Having my gear segregated like this allows me to quickly grab what I need
without a lot of repacking. If your work is more fixed than mine, you can re-organize in whatever way makes sense. For example, if overnight or extended stays is not a possibility, you may not need the 3 day pack and can pack some of the essentials in Bag #2 or #3. The key idea is to make sure you have everything you need and can quickly grab and go. If you are packing a bag in a rush, it is likely you will forget something. If you have the essentials already packed, all you have to do is add anything additional you need.

I hope this helps with your emergency preparations. Let me know what you think.

Tuesday, April 14, 2015

You Don't Need No Stinkin' XPR5550 Programming Cable

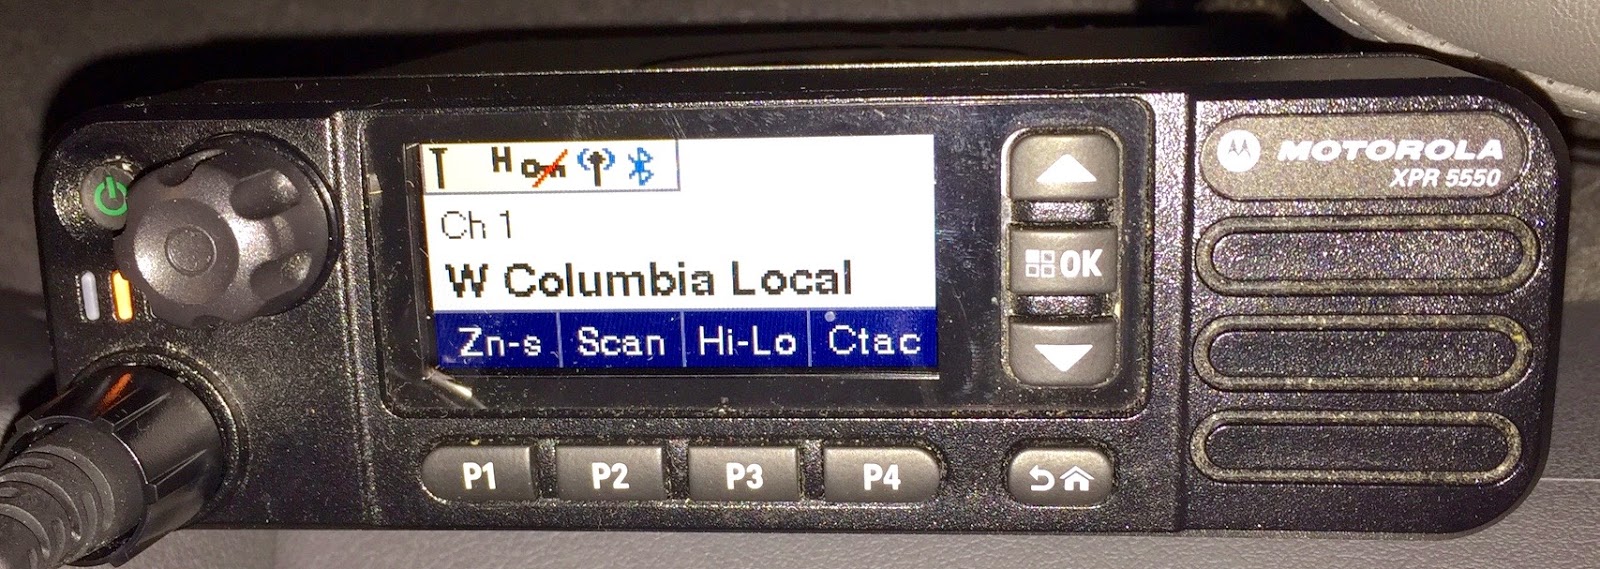
Programming the Motorola XPR5550 Mobile Radio with Bluetooth

When you first get a new Motorola XPR5550 DMR radio, you know what you can do with it? Nothing, until you program it. There is a lot to learn about programming the 5550, and I will not go into that here. But, you need 2 things to do the programming, the Mototrbo CPS software and a programming cable. Motorola dealers sell them for about $80, or you can build your own using the accessory kit that comes with the 5550 and a USB cable. 

There is another alternative, use Bluetooth and wirelessly program your 5550. While it is not intuitive to set up, it can be done with the proper procedure. I was able to get mine working with both my 5550s. 

Here are the step by step instructions to get yours working. I used a Windows 7 PC. If you have a different Windows OS, I can't help you, I'm a Mac, I only use PCs when nothing else will do. (I wonder if I can do CPS with Wine? I bet I can!)
________________________________________________

Program XPR5550 Using Bluetooth

On the 5550:
  1. Turn on Bluetooth
  2. Select “Find Me”

On the Windows PC:
  1. Click the Bluetooth symbol on the menu bar at the bottom right of the PC.
  2. Select “Add a Device” from the pull down.
  3. Wait a few seconds, and when the 5550 shows up as a device (it will have the name you gave it in the CPS software).  Click on it.
  4. When the PC asks you to verify the device, click that you see the number on the device, even though you don’t. (Honesty will not get you far with Windows.)
  5. The 5550 will now ask you to accept to connection, click “Accept” on the 5550.
  6. Click on Menu to go back to the normal 5550 screen.
  7. When the Bluetooth devices window opens on the PC, drag the 5550 icon to the desktop.

You are now ready to program. Here is what you do:
  1. Right click the 5550 icon on the PC desktop.
  2. Roll your cursor over “Connect using” and click on “Access point”
  3. Now, open the CPS software.
  4. Click on Bluetooth in the top menu. It will turn the background blue.
You are now connected to the 5550 and can do whatever you can do with the programming cord EXCEPT updating the firmware. That has to be done with a physical cable. You can Read, Write and Clone as you wish. If you have more than 1 5550, you will need to have a Bluetooth connection icon for each one of them, and, if you want them programmed the same, you will have to do one first, then clone it to the second one.

Good luck!

Wednesday, March 20, 2013

Antenna Tuners - Necessary Evil or Just Evil? - Part I


Nearly every ham who operates HF has an antenna tuner, some have more than one. I do. There is a useful purpose for them, but, they have to be used properly to be an asset. Used improperly, and they can be more trouble than they are worth.

Let's start with the basic idea. If you have a properly designed and tuned antenna, you don't need a tuner. You might need a matching network, but not a tuner.

MFJ 949 Antenna Tuner
What's the difference?

The difference is radiation. What is important is getting your signal out of your radio and into the atmosphere. The objective is to push as much of your signal in the direction you want it to go as possible.

So, the antenna system has two functions. First, to efficiently induce electromagnetic waves into the air. And, second, to couple to the transmitter in a way that will make it happy. No tuner can help with the first function; that is dependent on the interaction of the metal components of the antenna and the atmosphere. But, a tuner can help keep the transmitter happy by allowing it to maximize the transfer of its power to the antenna metal.

Make no mistake, you cannot determine the effectiveness of an antenna by measuring the SWR. You could tune a lightbulb to 1:1 SWR pretty easily, but you won't make many contacts on a 100w table lamp.

Let's look at another example. What about using a tuner to allow a 6 meter dipole to be used on 80 meters? You could probably use a tuner to match the transmitter to the antenna, but a 6 meter beam may not be able to couple 80 meter RF into the atmosphere very efficiently. Just because you can match it doesn't mean it is going to radiate. In fact, in this example, the feed line may be doing more than the antenna elements themselves.

As an former broadcast engineer, I miss the Field Strength Meter in tuning antennas. SWR is not an important measurement in a broadcast transmitter, especially in one operating under 30 Mhz. There are things other than SWR that will indicate mismatch problems. But, measuring exactly how much of your RF is going in what direction is critical. So, broadcast engineers get off their duff, and head out into the world with a meter that measures the relative strength of your signal in various directions at various distances.

I will go into some techniques for measuring your radiation pattern in Part II, but suffice it to say that the key to using field strength measurements is maintaining a database of measurements. For now, just be aware of the value of knowing how your antenna systems interacts with the environment.

Monday, March 4, 2013

EmComm - The Prime Directive

It has been said many times in many places, but it bears repeating, the essence of amateur radio is emergency communications. Let’s quote from the FCC Rules, Part 97,

§ 97.1 Basis and purpose.
The rules and regulations in this part are designed to provide an amateur radio service having a fundamental purpose as expressed in the following principles: 
(a) Recognition and enhancement of the value of the amateur service to the public as a voluntary noncommercial communication service, particularly with respect to providing emergency communications. 


Couldn't be clearer, the Prime Directive for the Amateur Radio Service is emergency communications, EmComm. And, amateur radio has a proud history of serving the public in times of crisis. It is not necessary to recount all the times that ham radio has been a vital part of emergency response; it is so common as to be in danger of being taken for granted.

The question is, what are you doing to support the Prime Directive? Checking into weekly traffic nets is a good start, but there is far more you can do to support the cause.

What can you do?

For starters, make a plan. You should look at emcomm from two perspectives - as a giver of aid and as one affected by a disaster. Every ham has the potential to play either of these roles. A situation in a nearby community might need your support. You might be called on to go into the area and help with communications, or you might be asked to handle traffic or provide situation awareness information from your home.

Either way, you need to plan ahead. Pack a Go Bag, loaded with the things you might need. Don't wait until a disaster hits, do it now! Remember to pack not only radio gear you will need, but also things for your own sustenance.  I will detail my own plan in a future blog, but most of it is common sense. Just remember, you might find yourself in a situation where you need to be able to operate for 24-48 hours without outside aid. Hint, get, or make, some MREs.

Next, get your act together for when you might find yourself in a situation. Is your shack capable of operating without commercial AC? What about antennas? If your tower goes down, can you get back on the air? Make yourself some wire antennas - a VHF/UHF twin lead J-Pole can be very valuable and a G5RV for hf all wound up, ready for action, could be life-savers.

I will cover these topics in detail in future blogs, but don't wait on me, or anyone else for that matter. Get planning and acting now and you will be on the way to fulfilling the Prime Directive.

Saturday, February 23, 2013

160 Meters - Size Matters

Drake L7 Linear Amplifier
Last year, I participated, or tried to participate, in the CQ Magazine 160 Meter contest. I used my Icom IC-756proIII radio into an inverted L antenna with a counterpoise. I ran barefoot with the 100w of the ProIII because my aging Drake L4B won't tune 160.

It was an exercise in frustration. Many of the weaker stations I tried to call couldn't hear me all that well, so multiple efforts were required. And, I just got buried by all the big signals.

This year, 2013, I bought a Drake L7, a later version of the L4B, that does full 1.5kw on 160. I like tube amps for a variety of reasons, but probably due to my background in broadcast engineering 35 years ago, the 3-500Z triodes were very common in drivers for AM transmitters. I know them to be efficient, hardy and, they glow. The only time solid state amps glow is when they melt down.

I had a much different experience this year, and worked nearly every station I could hear. I even tried a couple of CQs, and, at one point, had a bit of a pile up by stations wanting South Carolina. Same antenna, 9 db more power out.

Lesson learned - If you want to play with the big boys, you need big toys!

Wednesday, February 20, 2013

In Praise of Service Monitors

HP/Agilent 8924C Service Monitor
I like to fiddle with gear and antennas, so I have always dreamed of having a bench full of sophisticated, lab grade test equipment. What red-blooded tinkerer has not? My dream is to have a wide-band scope, an accurate RF generator, a multifunction AF generator, a wattmeter, frequency counter and lots of other gear. Throw in a sensitive receiver that goes from 30 Mhz to 1 Ghz, all modes, and you have the real deal. Oh, and a spectrum analyzer would be just dandy, as long as we are dreaming.

Trouble is, as you research the cost, each of these beasties can cost hundreds of dollars. And the amount of bench space they take up is mind boggling. Then, I discovered service monitors. A new one will set you back $25,000 and up, way up! But, after a bit of research, I found the HP/Agilent 8924C Service Monitor. This is an older piece of equipment, designed to serve the needs of the cell phone industry. It is computer controlled and has lots of features that are specific for the technical needs of CDMA cell phones.

8924C Display
But, but, but -- This baby is loaded with features that hams can use. In fact, it includes all the test gear I have mentioned so far, and a few others. It is programmable, so if you have a software bug (pun intended), you can create your own combinations.

Let me tell you what I have done with it in the few months I have had it. I fixed a UHF transceiver that was not putting out power. I set up 3 repeaters, including tuning the cavities. I have measured the output and frequencies of several dozen UHF handhelds I am working on. I also measured the sensitivity of the receive section. I plotted the SWR curve of a VHF/UHF J-pole antenna I built (needs some more work). And, just for kicks, I use it to tune around the HF, VHF and UHF bands, up to 1000 Mhz with great sensitivity. I can measure the tones generated by local repeaters.

Fantastic and unbelievable! What's that? How much did it set me back? $850 including shipping, and it weighs over 60#. There are variations of the HP/Agilent series of monitors, but the 8924C is the most complete. I did have to upgrade my input section, which was a maximum of 5w, to 100w (60w continuous). That cost another $125. I am under $1000 and it works perfectly. It is capable of doing much more than I am capable of doing with it. There is a learning curve, but there is lots of good info on operating these, including videos. Just plug 8924C into YouTube and you will find many good videos.
Here are a few:
Duplexer Tuning
HP 8920A Service Monitor and AW07A Antenna Analyzer
RX 40 meter band 7.075 Mhz SSB on HP 8920A Service Monitor
1 - RF Tools Antenna Return Loss.mp4