
Programming the Motorola XPR5550 Mobile Radio with Bluetooth
 When you first get a new Motorola XPR5550 DMR radio, you know what you can do with it? Nothing, until you program it. There is a lot to learn about programming the 5550, and I will not go into that here. But, you need 2 things to do the programming, the Mototrbo CPS software and a programming cable. Motorola dealers sell them for about $80, or you can build your own using the accessory kit that comes with the 5550 and a USB cable.
There is another alternative, use Bluetooth and wirelessly program your 5550. While it is not intuitive to set up, it can be done with the proper procedure. I was able to get mine working with both my 5550s.
Here are the step by step instructions to get yours working. I used a Windows 7 PC. If you have a different Windows OS, I can't help you, I'm a Mac, I only use PCs when nothing else will do. (I wonder if I can do CPS with Wine? I bet I can!)
________________________________________________
Program XPR5550 Using Bluetooth
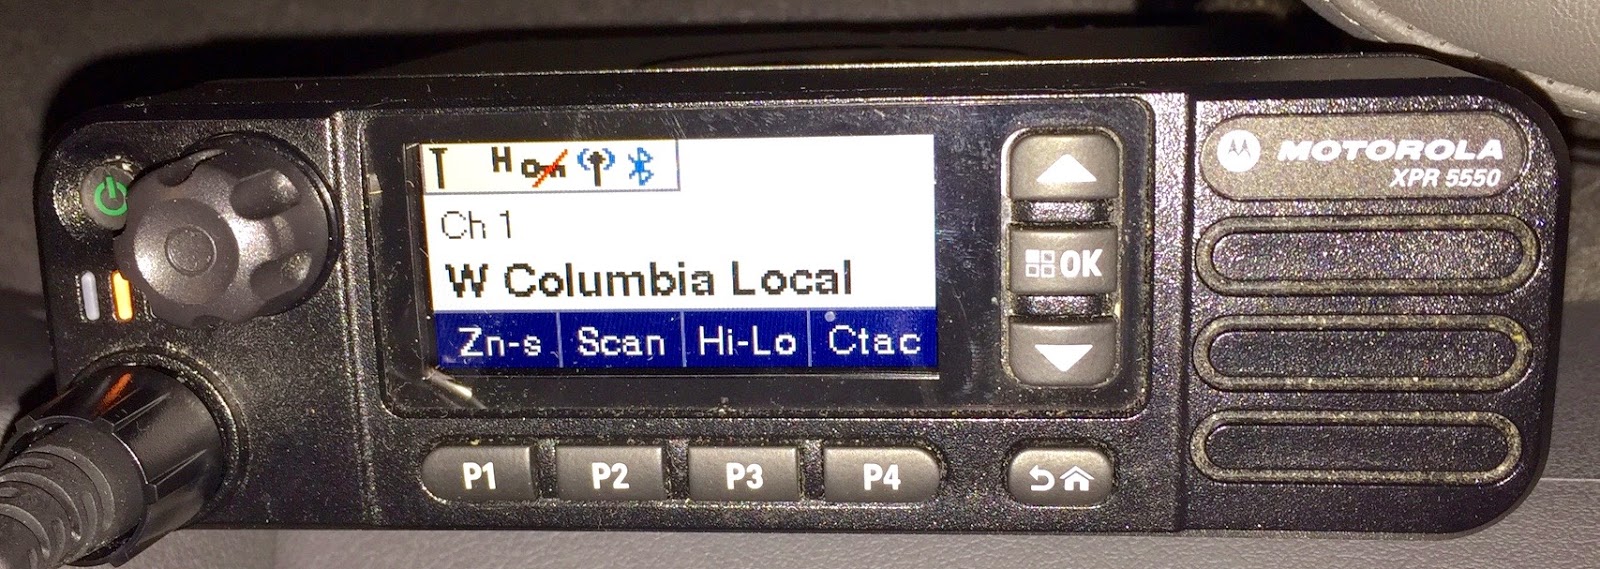
On the 5550:
- Turn on Bluetooth
- Select “Find Me”
On the Windows PC:
- Click the Bluetooth symbol on the menu bar at the bottom right of the PC.
- Select “Add a Device” from the pull down.
- Wait a few seconds, and when the 5550 shows up as a device (it will have the name you gave it in the CPS software). Click on it.
- When the PC asks you to verify the device, click that you see the number on the device, even though you don’t. (Honesty will not get you far with Windows.)
- The 5550 will now ask you to accept to connection, click “Accept” on the 5550.
- Click on Menu to go back to the normal 5550 screen.
- When the Bluetooth devices window opens on the PC, drag the 5550 icon to the desktop.

You are now ready to program. Here is what you do:
- Right click the 5550 icon on the PC desktop.
- Roll your cursor over “Connect using” and click on “Access point”
- Now, open the CPS software.
- Click on Bluetooth in the top menu. It will turn the background blue.
Good luck!